Getting started with Webflow: complete beginner guide
Webflow
•
X min
•
17.03.2026
Webflow is a website creation platform that combines a visual editor, a CMS, and integrated hosting. It lets you build professional sites without writing code, while giving you full control over design and structure. To get started effectively, you need to understand three fundamental concepts: HTML logic (elements and nesting), CSS logic (classes and styles), and interactions (visual animations). The interface is made up of a dashboard, a Designer (the main building tool), and a content editor. The best approach for beginners is to prepare a sitemap and content before opening the Designer, then progress step by step. This article covers the full journey, from discovering the tool to going live.
More and more founders, marketing managers, and designers want to create a professional website without depending on a developer for every change. The reason is simple: decision cycles are getting shorter, teams want autonomy, and sites need to evolve quickly to keep up with the company's strategy. In this context, traditional CMS platforms that require constant updates, unstable plugins, and developer intervention for the smallest change no longer match the needs.
Webflow is the platform that makes this autonomy possible. It allows you to build a site visually, with the same level of control as a front-end developer, but without writing a single line of code. Design, CMS, and hosting are integrated into a single tool, which eliminates the usual fragmentation between the designer, the developer, and the hosting provider.
This article is a step-by-step guide that takes you from "I have never used Webflow" to "I understand how it works and I can start my first project." It covers the fundamental concepts, the interface, creating a first project, the CMS, publishing, learning resources, and mistakes to avoid. The goal is to give you a clear path to action, not just a list of features.
Webflow is a website creation platform launched in 2013 by Vlad Magdalin. It combines three functions in a single tool: a visual editor (the Designer) that lets you build and style pages, an integrated CMS for managing dynamic content (blog, portfolio, catalog), and a hosting platform with a global CDN and automatic SSL. Over 300,000 companies use Webflow today, across more than 190 countries.
What sets Webflow apart from other site-building tools is that it does not simplify the web by hiding it. It makes the real mechanisms of the web (HTML, CSS, JavaScript) visual without asking you to write them manually. Concretely, when you place an element on the page in the Designer, Webflow generates clean HTML code. When you adjust a margin or a color in the style panel, it writes CSS. When you create a hover animation, it produces JavaScript. The result is a site that works exactly like a hand-coded site, with the same technical quality, but built visually.
You can create brochure sites, blogs, portfolios, landing pages, dynamic CMS-powered pages, and online stores with Webflow's e-commerce functionality. For a detailed overview of what the platform enables, our complete guide to Webflow covers the topic in depth. If you are deciding between Webflow and other platforms, our comparisons of Webflow vs WordPress and Webflow vs Framer will help you make the right call.
In short, Webflow is an all-in-one tool that gives full control over the design, content, and hosting of a website, without requiring development skills. It is the leading platform for building a custom professional site without writing code.
Webflow makes the mechanisms of the web visual. This means that understanding the basics of these mechanisms (without knowing how to code them) significantly accelerates your learning curve. Three concepts are essential.
In HTML, a web page is a nesting of elements: sections contain containers, which contain text blocks, images, links, and buttons. In Webflow, these elements are represented visually in the left panel (the Navigator) as a tree structure. You add them to the page by dragging and dropping from the elements panel.
Understanding the nesting logic is fundamental. A container that holds a heading and a paragraph is exactly like a box containing two items. If you understand this "boxes inside boxes" logic, you understand HTML structure, and therefore the way Webflow organizes a page. This understanding matters more than being able to write code, because it determines whether your layout will behave correctly across all screen sizes.
In CSS, you style elements with properties: color, size, margins, paddings, typography, positioning. In Webflow, all of this is done through the style panel on the right side of the Designer. Every CSS property has its visual equivalent: a field for size, a color picker, sliders for margins.
The most important concept to grasp is CSS classes. A class is a name you give to a style. If you create a class called "primary-button" with a blue background and white text, you can apply it to every button on the site. Editing the class updates all elements that carry it. This is the mechanism that ensures visual consistency across a site and makes maintenance efficient. Naming your classes logically from the very start is one of the best habits to build when getting started with Webflow. For more on CSS units and sizing best practices, our guide to the rem unit covers the topic in detail.
Webflow lets you create animations and transitions without writing JavaScript. The interactions system works with triggers (hover, click, scroll, page load) and actions (movement, appearance, opacity change, rotation). You build these animations visually, by defining a start state and an end state.
For a first project, interactions are not essential. They add polish and engagement, but it is better to focus on structure and styling before venturing into animations. When you are ready to go further, the GSAP library (now integrated into Webflow) offers advanced animation possibilities well beyond native interactions.
The Webflow interface is made up of three main spaces. Understanding them before you start prevents that feeling of being lost in front of the screen.
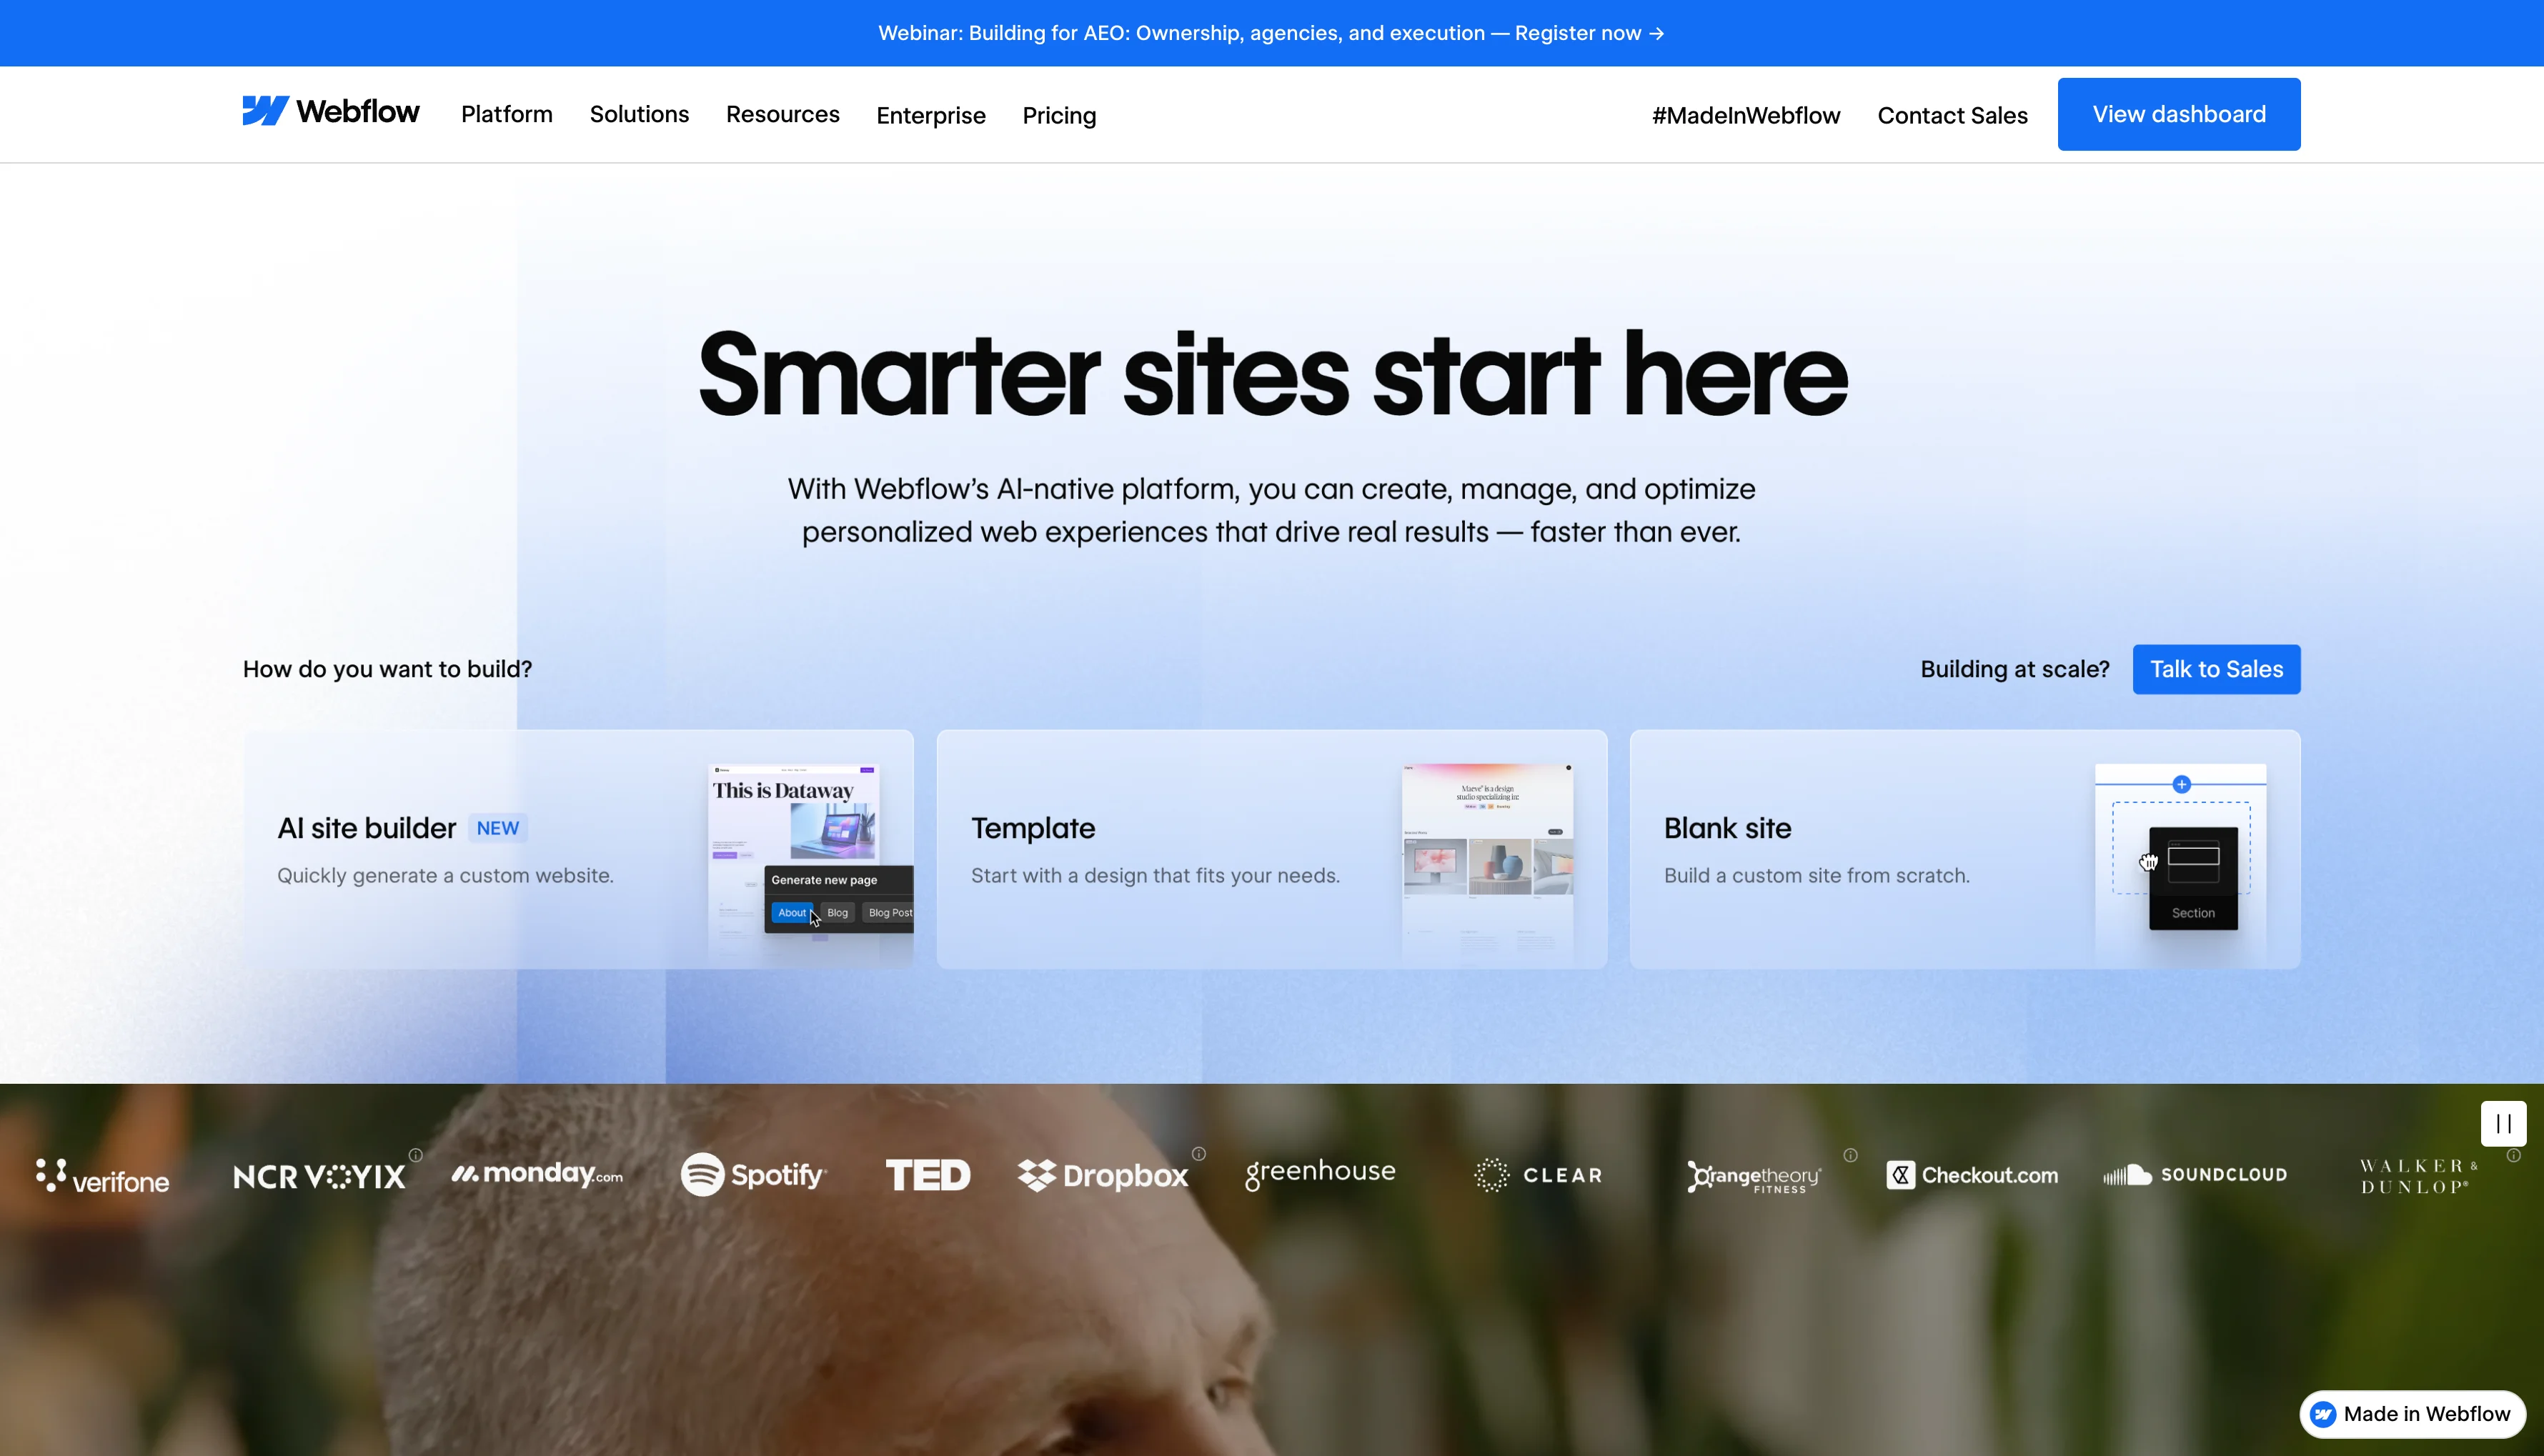
The dashboard is your entry point when you log in to Webflow. This is where you find your projects, create new ones, and access your account settings. Each project has its own settings: domain, hosting, integrations, SEO parameters. The dashboard also provides access to learning resources and templates available for starting a project.
The Designer is the main tool in Webflow, the one where you spend most of your time. It is made up of several zones. The central workspace (the canvas) displays your page as it will appear online. The left panel contains the Navigator (the tree structure of your elements, showing the page hierarchy) and the elements panel (the blocks you can drag and drop onto the page). The right panel is the style panel, where you define the appearance of each element (colors, dimensions, margins, typography, positioning). The top toolbar lets you switch between responsive views (desktop, tablet, mobile), access page settings, and preview the result.
When you open the Designer for the first time, the number of panels and options can feel overwhelming. This is normal. The right approach is to focus on three things at first: the canvas (where you build), the elements panel (what you add), and the style panel (how you style it). Everything else will come naturally with practice.
The content editor is a simplified interface that lets you modify the text and images of an already built site, without touching the design or structure. It is the tool designed for marketing teams or clients who want to update their site content independently. The Editor displays the page as it appears online, with editable zones that are directly clickable. It requires no knowledge of Webflow or design.
The most common mistake among beginners is opening Webflow and starting to place elements without having thought about what they want to build. The result is a disorganized project with poorly named classes, an inconsistent structure, and a design that does not match the site's objectives.
Before touching the Designer, take the time to clarify three things. First, the goal of the site: is it to present your company, generate leads, sell a product, publish content? Second, the main pages: home, services, about, contact, blog. A sitemap, even a simple one sketched on paper, is enough to structure the project. Third, the content and visuals: having the text, images, and logos ready before you start designing prevents working blindly and significantly speeds up the process.
Webflow offers two approaches to get started. The first is to use a template from the Webflow library. Templates are complete sites, ready to be customized, with a structure, a design, and sometimes pre-filled content. They are an excellent starting point for understanding how a Webflow site is built, and for saving time if your project fits a standard format (portfolio, brochure site, blog).
The second approach is to start from a blank page. This is more demanding, but it gives you total control over structure and design. If you choose this route, start with the simplest elements: a section, a container, a heading, a paragraph. Build the page block by block, testing the result as you go. In 2026, Webflow also offers AI-generated layouts that can serve as a starting point to customize.
Once your project is created, the workflow is always the same: you drag an element from the left panel onto the canvas, then style it via the right panel. Start with structural elements (sections, containers) before adding content (headings, text, images, buttons). For each element, create a CSS class with a clear, descriptive name, such as "hero-section", "main-heading", "cta-button". This naming discipline from day one will save you enormous amounts of time as the project grows.
Webflow is responsive by default, but this does not mean your design will adapt perfectly without intervention. Use the responsive views in the top toolbar (desktop, tablet, landscape mobile, portrait mobile) to check the display at each screen size. Adjust text sizes, margins, and element positioning for each breakpoint. This is a habit to build from the very first element placed on the page, not a step to handle at the end of the project.
The CMS is one of the features that sets Webflow apart from simple page builders. It lets you manage dynamic content, meaning content that repeats in the same format: blog posts, product cards, case studies, team members, portfolio projects, client testimonials.
The system is built on three concepts. Collections are content types that you define. For example, a "Blog posts" collection with custom fields: title, author, date, cover image, body text, category. Items are the individual entries in a collection. Each blog post is an item. Finally, collection pages are design templates that apply automatically to every item. You design the template once, and every new post inherits the same layout.
The CMS is what allows Webflow to scale. Without it, adding 20 blog posts would mean manually creating 20 pages with the same format. With the CMS, you create one template and simply add the content. It is also what makes the Editor so useful: marketing teams can add and edit dynamic content without touching the design, directly from the simplified interface.
If your site needs to host content that evolves regularly (blog, news, catalog, portfolio), activating the CMS from the start is the right decision. Rebuilding it after the fact is possible but considerably more work than planning for it from the design phase.
Publishing on Webflow is simple and fast. Before going live, use the preview mode to check the display across all devices, test forms, and make sure all links work correctly. It is a quick but essential step that prevents publishing a site with visible problems.
For going live, two options exist. You can use a free Webflow subdomain (sitename.webflow.io) for testing or personal projects. For a professional site, connect a custom domain in the project settings. Webflow automatically handles the SSL certificate and hosting on its global CDN, which means there is no server to configure, no certificate to install, and loading times are optimized out of the box. To learn more about hosting costs and available plans, our article on Webflow pricing in 2026 details each option.
After publishing, remember to submit your site URL in Google Search Console to speed up indexing. Webflow automatically generates a sitemap accessible in the project's SEO settings, which makes the search engines' job easier.
Webflow has a moderate learning curve. You can grasp the basics in a few hours of practice, but full mastery of the tool, including the CMS, advanced interactions, and structuring best practices, takes several weeks of regular work. The good news is that learning resources are abundant and often free.
Webflow University is the official resource and the most comprehensive. It offers video tutorials structured by level (beginner, intermediate, advanced), courses on specific topics (CMS, e-commerce, SEO, interactions), and guided projects. It is the best starting point, and most experienced users recommend beginning there.
In French, several quality resources exist. Digidop offers free live training sessions on YouTube, with an approach that covers the Client-First methodology, SEO, and accessibility. French-speaking YouTube channels like Funnel Lab, También (Alex Tournis), and Richard provide tutorials on specific concepts and hands-on projects. These resources complement Webflow University well by bringing a French-speaking context and use cases adapted to the local market.
The Webflow community is also a valuable learning resource. The official Webflow forum, dedicated LinkedIn and Facebook groups allow you to ask questions, share problems, and discover solutions. Finally, the Made in Webflow showcase is an invaluable source of inspiration for seeing what others have built with the platform and understanding what is possible.
The first mistake is starting without a sitemap or content ready. Designing a site without knowing which pages it will contain, what message it should convey, and which visuals it will use leads to a disorganized project. The time spent preparing a simple sitemap and gathering content is repaid many times over during the build phase.
The second mistake is ignoring CSS classes or naming them inconsistently. Classes like "div-block-47" or "heading-3-copy-2" (Webflow's default names) make the project impossible to maintain. Build the habit of naming every class descriptively from the moment you create it, following a clear convention. If you plan to work with a provider or evolve the site over time, this discipline is non-negotiable.
The third mistake is not thinking responsive from the start. Many beginners build the entire site on desktop, then discover that the layout is broken on mobile. The right reflex is to check every section across all breakpoints as you build, not at the end. Webflow makes this easy with its integrated responsive views, but it is up to you to use them regularly.
The fourth mistake is overloading the site with animations. Webflow interactions are enticing when you first discover them, and the temptation is to animate everything. The result is often a slow site that tires the user and is difficult to maintain. The right approach is to reserve animations for elements that serve comprehension or conversion, and to keep everything else clean and simple.
The fifth mistake is not using the CMS when content is dynamic. Manually creating 15 blog pages or 20 product cards without using the CMS means inflicting unnecessary maintenance work on yourself and giving up scalability. If the content repeats in the same format, the CMS is the right solution.
The sixth mistake is publishing without testing. A broken link, a form that does not work, text that overflows on mobile: these problems are easy to fix before launch, but embarrassing once the site is public. Always take the time to preview and test every page before clicking "publish."
Webflow is a powerful tool that gives full control over website creation without requiring development skills. The platform has an accessible learning curve: the fundamentals can be understood in a few hours, and concrete results come quickly. The keys to getting started well are understanding the basic concepts (HTML structure, CSS classes, responsive), preparing your project before designing, naming your classes properly, and testing at every step.
The best first step is to open a free account, follow the Webflow University modules, and start a simple first project to get comfortable with the interface. Practice is the best teacher, and every project deepens your understanding of the tool.
If you have a Webflow project and want support from concept to launch, whether for a new site or a redesign of an existing one, you can get in touch with us for an initial conversation about your project.